Requirements
- Tracking Links → View list and Create link permissions
- The creator you want to run the campaign for is connected and visible in your access scope
1. Open the create dialog
Navigate to Analytics → Tracking Links, pick the creator in the top-left selector, then click Create tracking link.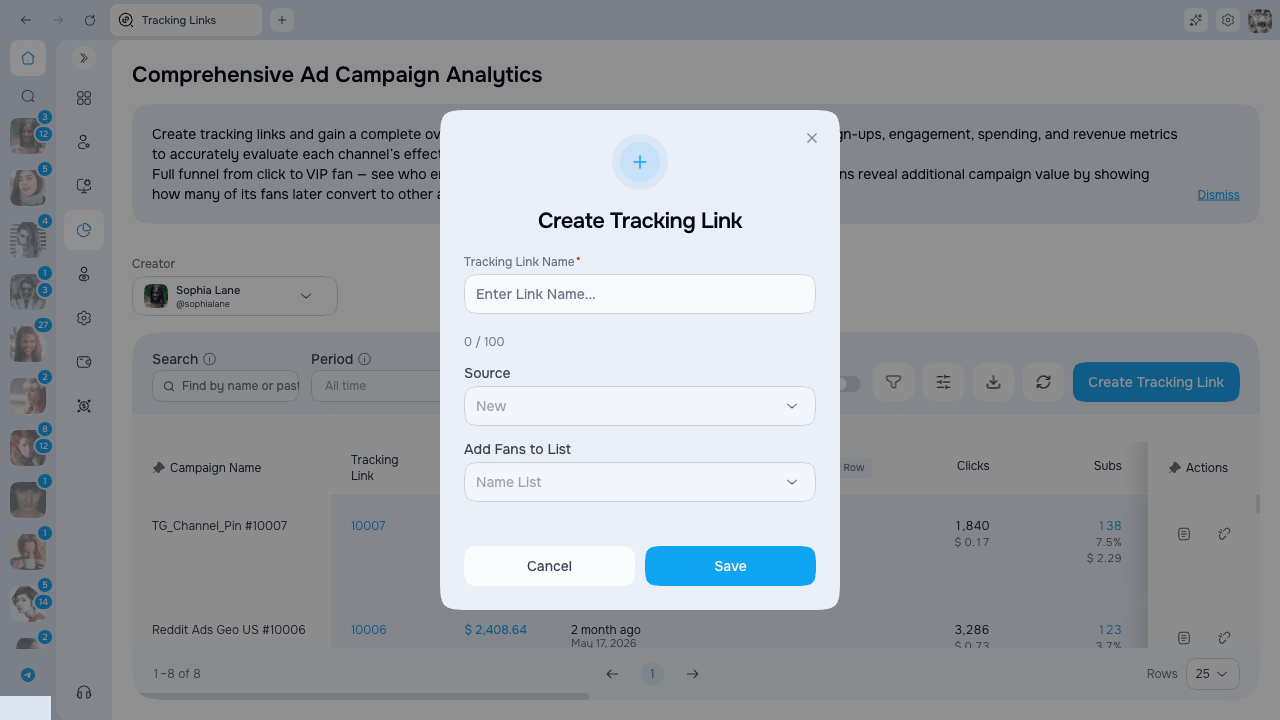
2. Fill in the form
The create dialog has three fields.Link name
Use a short, descriptive name such asReddit_r4r_April or TikTok_bio_link_2. The character counter below the field shows how much space is left.
Source
The source dropdown lets you select one of the existing traffic sources or leave the field blank. It does not create a new source from typed text. You can select an available source later from the table cell.Add fans to list
If you select a list, AgencyKey will automatically add every fan who subscribes via this tracking link to that list on OnlyFans. This is useful for:- Segmenting fans from a specific ad for later mass messages
- Giving a specific cohort access to a private folder or bundle
- Running tailored flows or scripts for fans from that source
Auto-add happens in the background right after the fan subscribes. If you change the list later, only new fans are added — existing subscribers stay where they are.
3. Save and copy the link
Click Save. The dialog closes and the new campaign appears at the top of the table. The Tracking Link cell shows the link code. Use the copy action in the row to copy the full URL in the formathttps://onlyfans.com/{creator}/c{code}, then paste it into your ad, bio, or Linktree.
Editing a campaign
Most fields in the table are editable inline:Editing Promo Cost
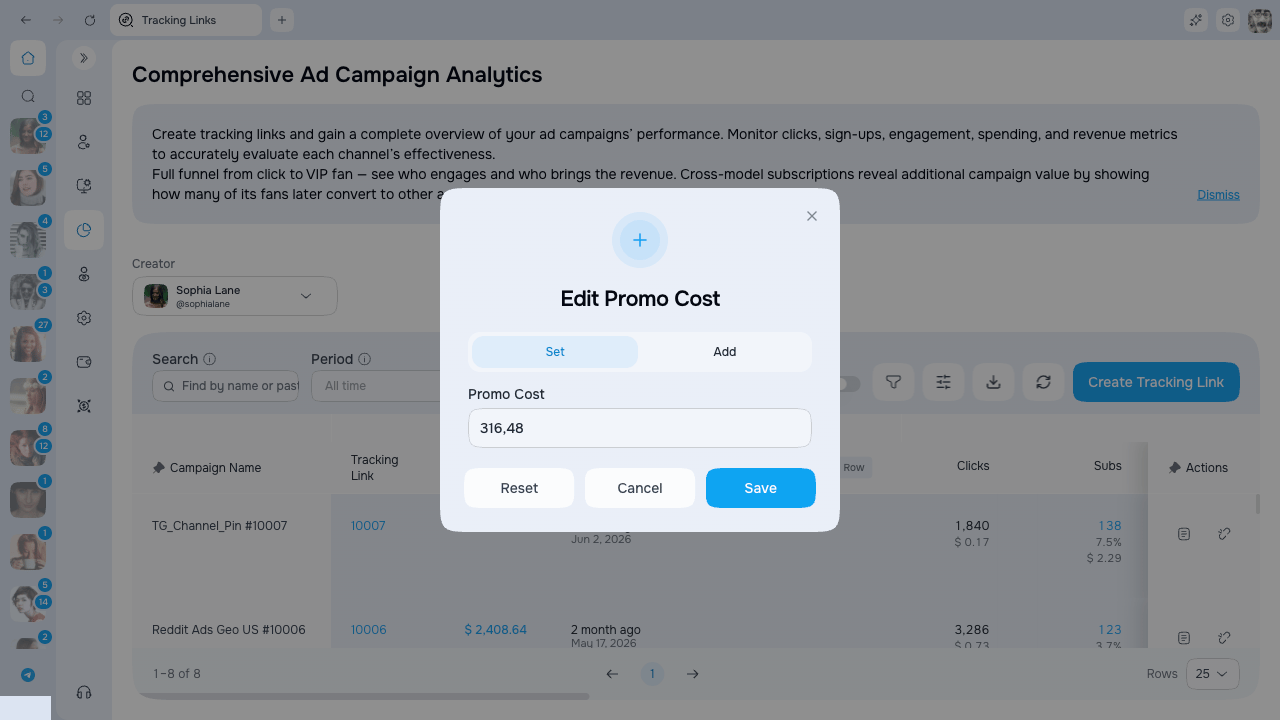
- Set — replace the current value with the one you enter.
- Add — add the entered amount to the current value (useful when you spend across several days and want to keep adding to the same campaign).
Changing the List or Promo Cost requires the dedicated Manage cost permission. Without it, both cells are read-only for you.